I began my animation career at the age of eight after watching Walt Disney’s the Sword in the stone. A bold statement, however I had formed the concept of drawing moving cartoon characters as my career definitely in my mind and was certain that is what would happen and it did. Over the years many fascinating projects came about from established studios that helped inspire me to stay on track to achieving the ideal. One of those films was
‘Who Framed Roger Rabbit’ and in fact the first time I saw the film was my first ever visit to a cinema. As I sat mesmerised by the marvel unfolding before me my mind occasionally wandered to my ideal and I promised myself that one day I will do something like that!
Fast forward and I already had my opportunity to echo the illusion as I sat in a London Animation Studio named Espresso and animated the famed Tony the Tiger playing basketball with live action counterparts. I did a few other commercials that mimicked the illusion but somehow I never felt fully satisfied with the results. Skip another number of years and I had changed direction and moved into the story board profession due to the industries taste for cgi over hand drawn animation. Alongside my story career I kept up my love for traditional frame by frame animation by doing small tests and tutorials on YouTube. I later discovered that the software that I used for storyboarding – Toon Boom Storyboard Pro could also produce full blown traditional animation with similar results to paper and pencil this excited me!
Suddenly I found myself revisiting my past ideals and ambitions and one day whilst on holiday in New Zealand I was overcome by the beauty of the Whakarewarewa Forest also known as ‘the Redwoods’. I only had my iphone 5s with me and decided there and then I was going to try something. Though the Camera in my phone was hardly fitting for today’s HD Cinema I realised that it was far superior to a lot of other older cameras and with professional editing software the film could also be treated. I decided to set an example for my subscribers and followers that no matter what equipment one has – in this day and age one is capable of achieving great results! So I asked my wife to film me act out a little sequence. Having spent my early twenties as a Martial Arts instructor I though a quick little fight would be a fun test and choreographed a brief combination then left the forest excited with the possibilities I had created.
It taken around 10 major steps to create the Animated Sequence
Step One Raw Film – 29.97 Frames Per Second
As mentioned above I shot the ‘footage’ using an outdated iphone 5s I also have an equally ‘outdated’ version of Adobe Premiere CS6 that I knew could tweak it to an acceptable level.
I believe the film was originally shot at 30fps but it altered slightly when I went onto the next step.
Step Two Rough Pose test using Adobe Photoshop
With the software available to me I had two choices of how to go about working. I could have exported an image sequence and taken each frame into my Toon Boom Software (Storyboard Pro) or I could take it into Adobe Photoshop. I had previously heard that animation could be done in Photoshop but never tried it. I decided to give Photoshop a go as I imported the video I set the framerate to 29.97 fps I had reservations doing this as it meant extra drawing from the usual 25 fps. Also every frame had to be drawn I could not work on twos because it would conflict with the fluidity of the live action. I thought of my hero Glen Keane who recently worked at 60fps on Duet and decided to go ahead with it. Animating in Photoshop was a very unpleasant experience as I had to keep creating layers and flattening them. I decided to block out an initial pose test by marking key parts in the scene where the animation had to interact with the live action and made note of the camera moves to minimise any awkward character placement that would likely occur from working this way.
Step Three Key Frame Animation in Storyboard Pro
After completing my pose test I exported the frames and imported them into Toon Boom Storyboard Pro. My previous experience of working with Live Action taught me that in many cases I could animate without the live action stats once my keys had been defined. I also had the knowledge that any inconsistencies could be addressed in post-production though it is best to work towards having no inconsistencies. I built upon my rough poses and altered the choreography to make it more exciting by having the rabbit check my round house kick with a switch kick on the retreat. I then tested the new keys with the live action using Adobe Premiere.
Step Four Key Frame and Breakdown Clean Up
This is a very long part of the process that involves locking down the rough key animation then adding breakdown drawings. Once they are working correctly to the timing, the drawings have to be fine lined or cleaned up. Once cleaned up I decided to go ahead with adding some clean in-between drawings too as the sheer volume of drawings had to be minimised in stages. I put it on ‘twos’ meaning every other drawing had been done (half of the 323 drawings had been completed)
Step Five Fully Cleaned Up and In-betweened Animation
This step is an extension of the previous step. After testing that everything is generally working on twos I went ahead and finished drawing al the in-betweens. I then did a rough composition in Adobe Premiere of the line art with the live action. In general everything was working well though as expected there were some inconsistencies in character and background placement as the camera moved around. I later planned to stabilise the live action and animation so knew this would be a fairly straight forward fix.
Step Six Block Colour in Storyboard Pro
Once the Clean Line Animation was completed I then proceeded to colour the animation by the simple process of using the paint bucket tool with swatches of colour that I revised in a colour model.
Step Seven Treating the Raw iphone Video with Adobe Premiere
The original video that I used did not have any lighting set up and was pretty dark with a dominant reddish brown colour that would overpower my rabbit character. I used two effect tools to doctor the film as well as adjusting the brightness, contrast, saturation and levels,. The two tools were the fast colour corrector to map out a feel for the new tones and then the three colour corrector to individually adapt shadows, mid tones and highlights.
Step Eight Shadow & Highlights Compositing Frames in Adobe Photoshop
Wen embarking on this test I knew that it would be a time consuming process and I would have to undertake it as a side project. Knowing this I decided to not animate any effects such as highlights and shadows. This would result in a flat looking result far removed from the lavish compositing in who framed Roger Rabbit. However I drew inspiration from the fact the Movies such as Mary Poppins and Song of the South harboured vastly superior character animation to Roger Rabbit though suffered from the flat coloured blend with live action. I initially intended to create a simple shadow layer in Adobe Premiere to aid with the character ‘standing’ on the background. I did this by utilising the transform tool and flipping the animation and then distorting its height and desaturating it with no lightness and brightness. This blackened it. I then placed the layer opacity on a multiply at 50 percent and repositioned it below the character animation layer. I finished it off with a heavy Gaussian blur at 45 percent. After seeing the result I felt the urge to push the effect a little. I decided to open each frame of animation in Adobe Photoshop and record an action that I could apply easily to each frame. I used the Layer Style Bevel and Emboss to create an inner shadow and Highlight that would remain constant throughout the animation. This would never equal hand animating the shadows and highlights but it did help the animation sit nicer with the live action.
Once I had completed this process I then had to fix the frames where I overlapped the rabbit animation. In order to do this via Premiere I had to take Targa screenshots of each frame with and without the animation. I later combined them in Photoshop and erased the animation in the respective places where I overlapped the character. When this was complete everything was placed on respective video layers in Premiere.
Step Nine Stabilize Animation and Live Action video
Now that the colour and compositing was more or less complete the refining finishing touches had to be applied to make it all work as well as it should. As previously mentioned there were some areas in the animation where the characters placement was inconsistent to background. This was partly due to the handheld camera moving irregularly and my animating using my placement drawings from Photoshop. Fixing it was a straightforward process of individually ‘animating’ the placement of the character at these specific points by typing in the digits in the frames motion axis in Premiere. It sounds complicated but is very straightforward just increasing or decreasing the digit of each frame by 1 or 2 depending on the speed of the camera move. This was similar to rostrum camera work of old and eliminated any of the sliding effects that were previously in the scene. The rabbits feet were now firmly on the ground! Once I was happy with the rabbit’s placement I then exported the sequence to re-stabilize it as a single consistent piece of film. Premiere has a tool called the warp stabilizer that eliminates camera shake and small bumps and thankfully my wife has a steady hand so it wasn’t too distracting. I applied the tool with a small 10 percent stabilize that wouldn’t result in any distortion of my animation or action and at the same time soften all the bumps and shakes in the original film.
Step Ten Add Sound
As any filmmaker knows sound is crucial to helping the action and especially with a fight sequence!
An associate of mine kindly shared with me some royalty free effects that would come in handy. I did separate takes for the steps and treads of each character and also the kicks and strikes. The music used in the video going through the various stages was composed by another associate of mine the ‘Objectivist Guitarist’ who has his own YouTube Channel.
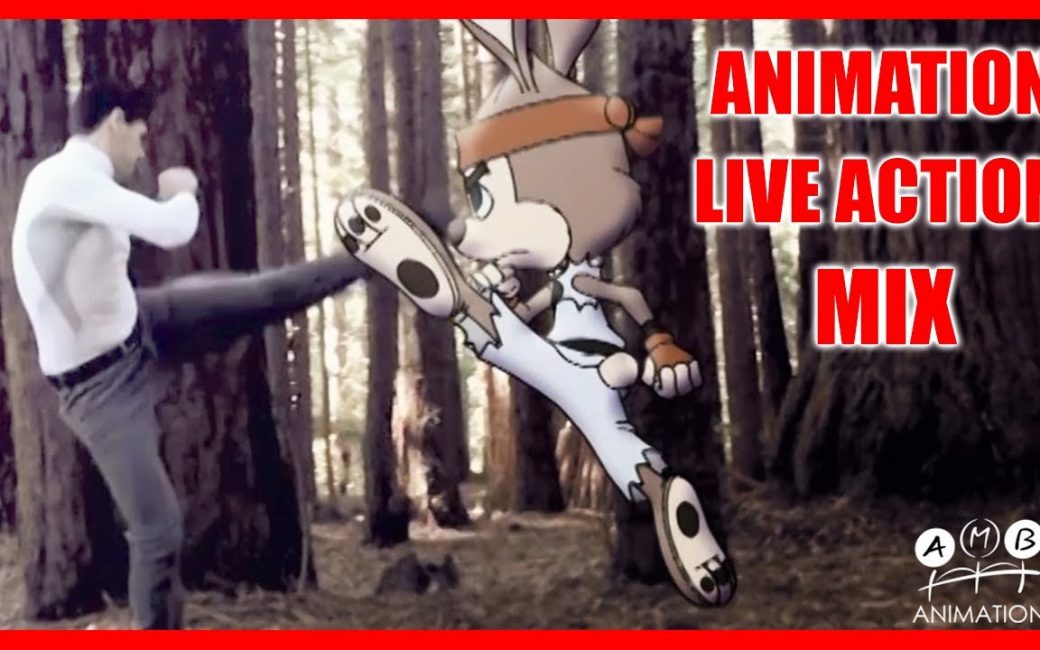
So after 323 Drawings a couple of Days of post-production later I finally completed my childhood desire to animate a live action and traditional animation combination featuring a Rabbit!